My Postage-Stamp Scrap Fabric Patchwork Quilt
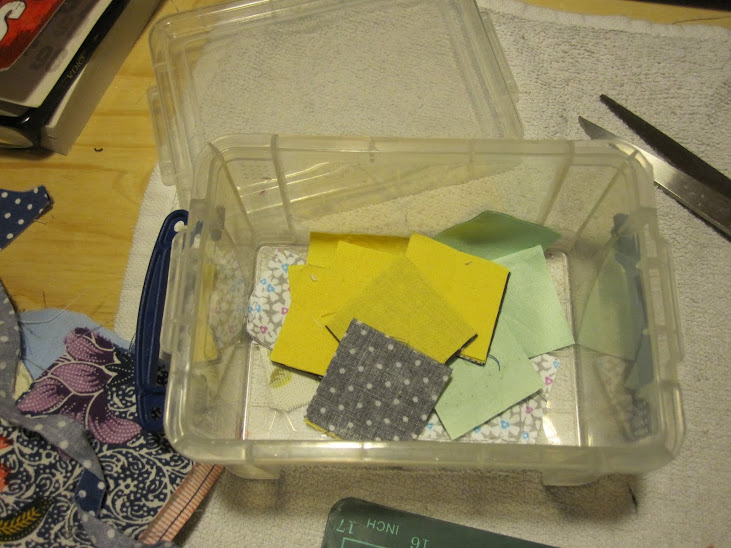
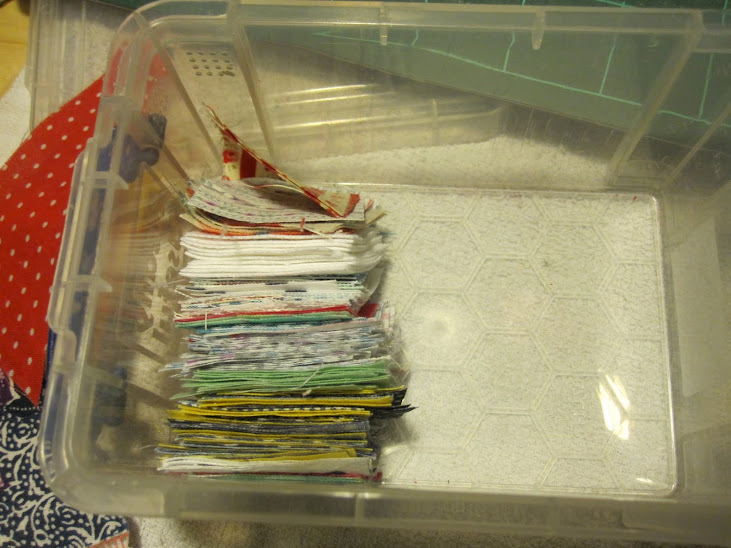
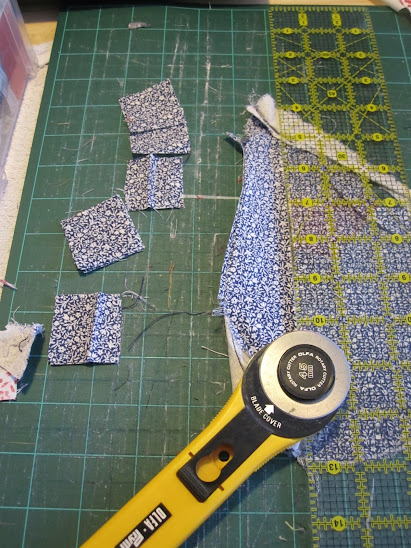
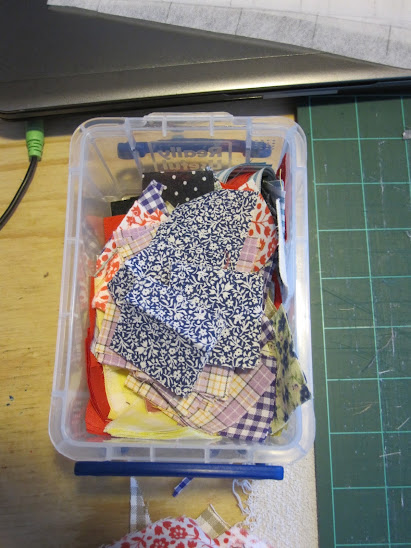
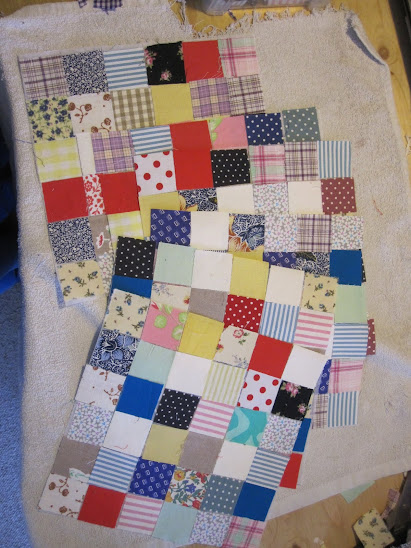
And finally I am back to blog about my second patchwork quilt that I talked about in my last post. We’ll gloss over the time-delay for now, as I want to get on with explaining how I made all the patchwork squares for this quilt! In case you didn’t read my last post, I made this quilt using nothing but my smallest pieces of scrap fabric (probably the kind of scraps most people would throw away). I cut my scraps into 2 inch squares and stored them all up, and then used 1620 squares to construct the quilt, which is big enough to cover a single bed.

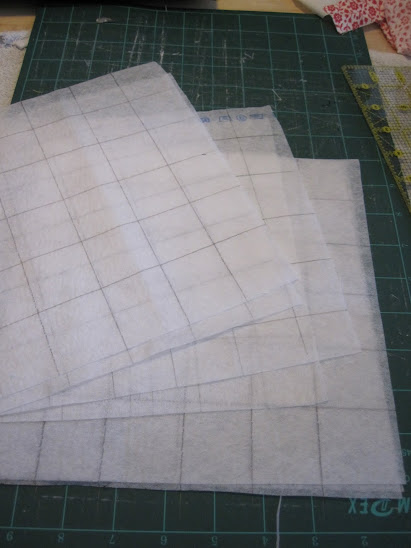
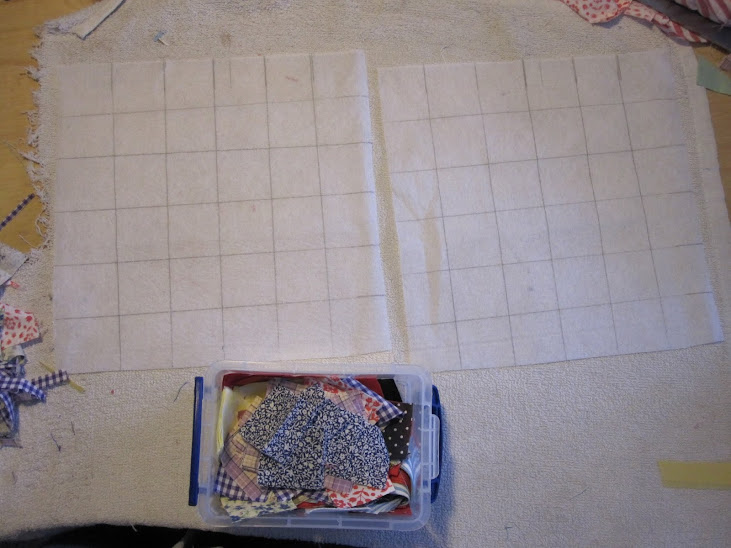
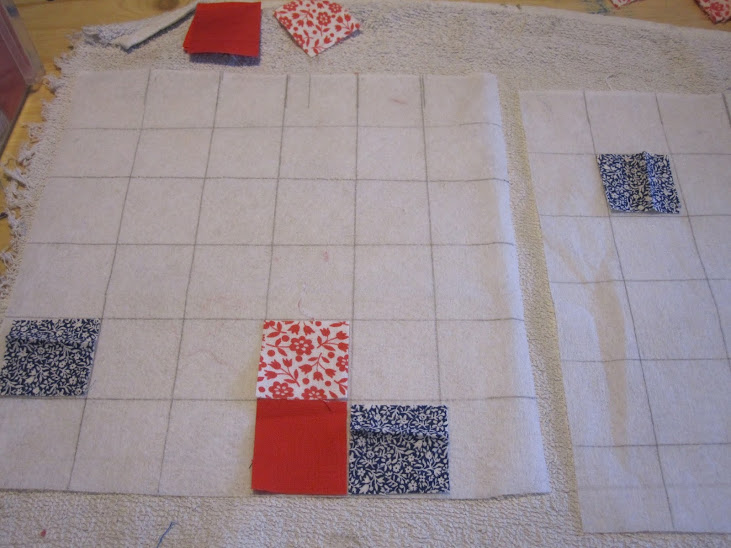
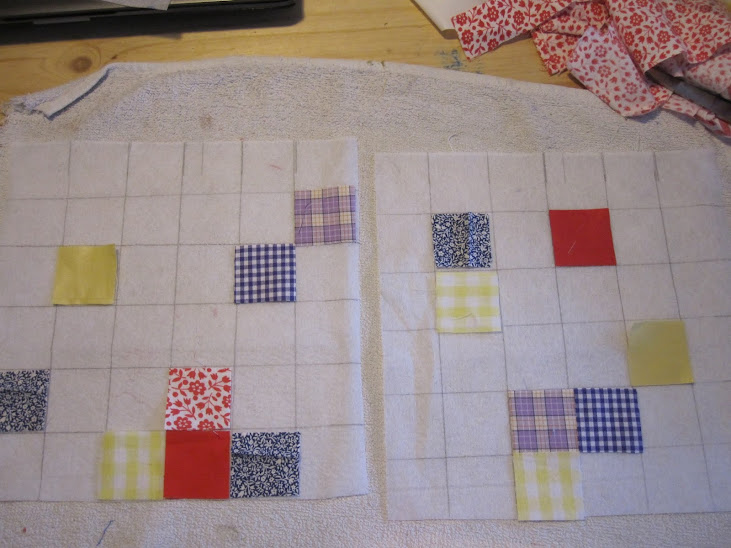
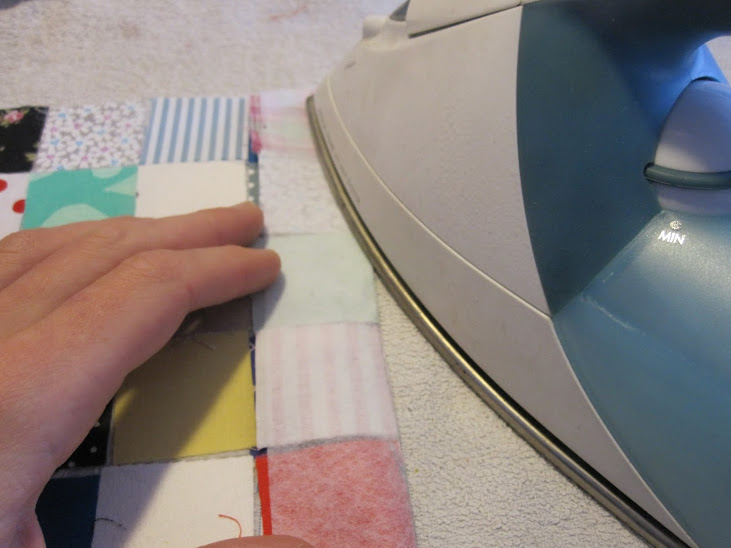
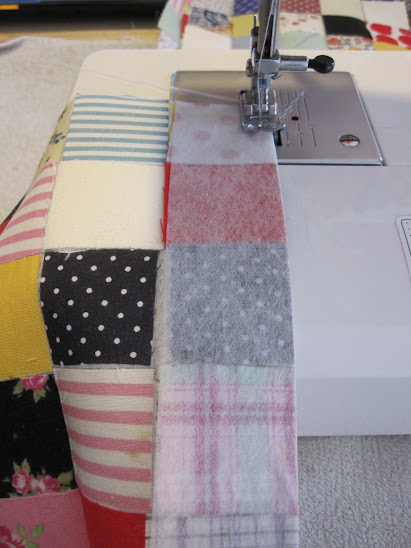
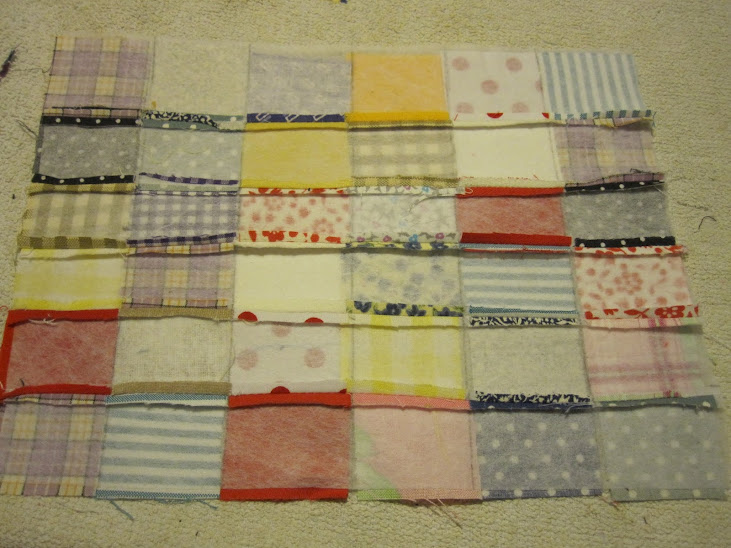
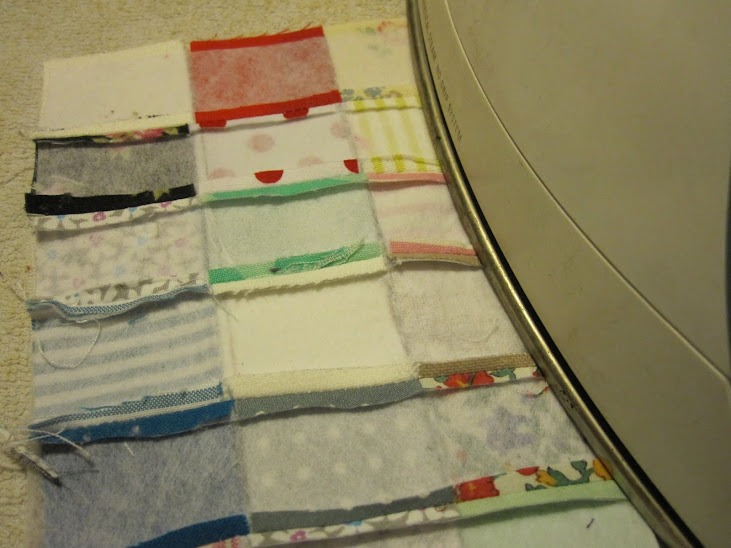
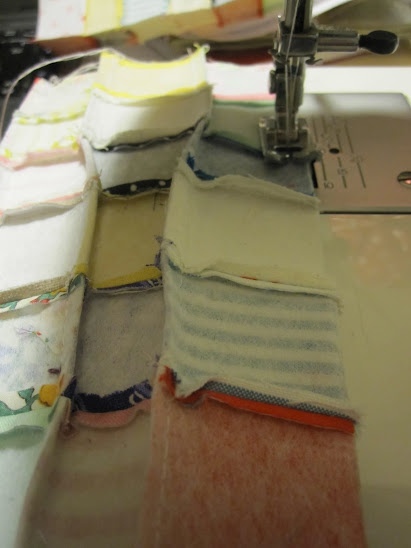
The quilt is arranged in 45 blocks of 36 patchwork squares, and in order to sew all 36 patchwork pieces together with the seams lined up I found a brilliant technique online that I used. The technique involves ironing all 36 patchwork squares onto a piece of iron-on interfacing, that I had drawn a 36 square grid on, then ironing a seam down each row and column where the squares of fabric met, and then sewing along each ironed line, trimming the edge and ironing the seam open, and then repeating for the next row. I don’t think I am explaining it very well, so hopefully the photos will explain it all a bit better!
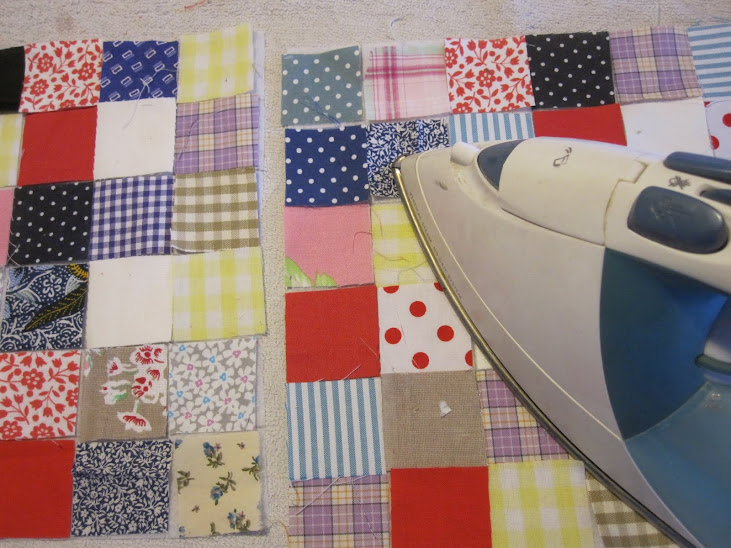
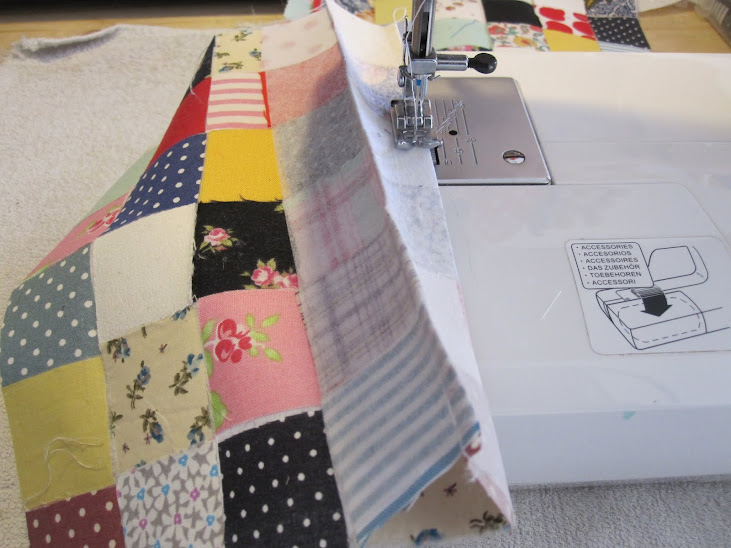
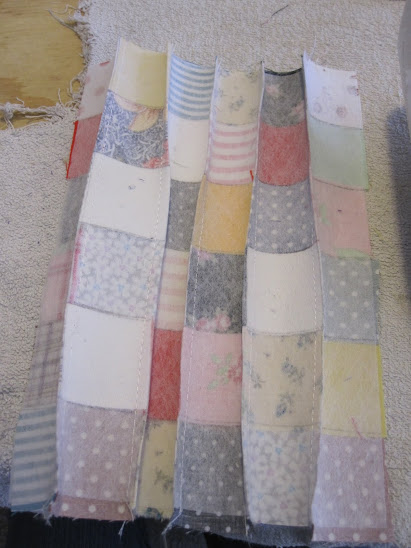
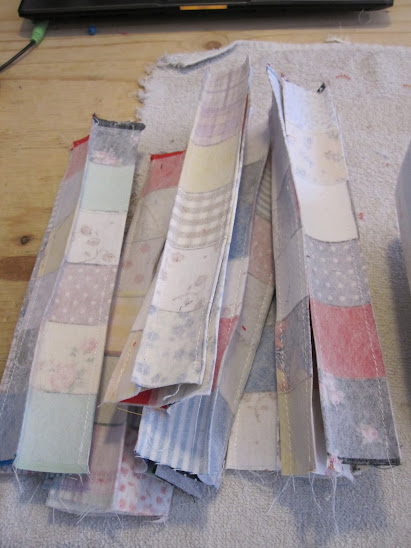
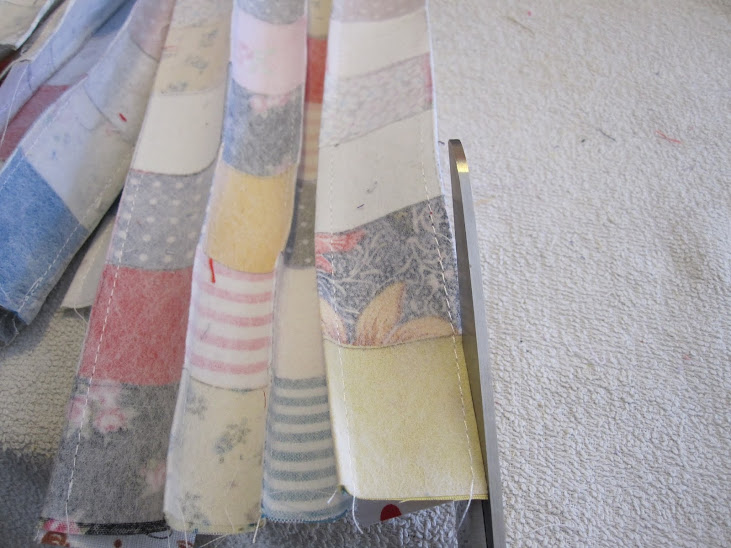
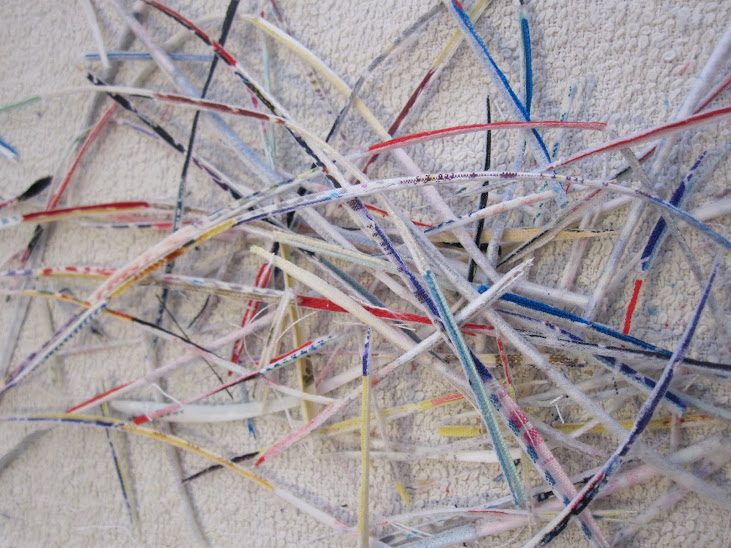
colourful offcut scraps


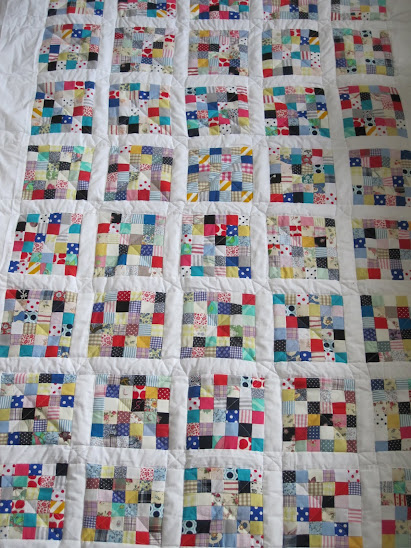
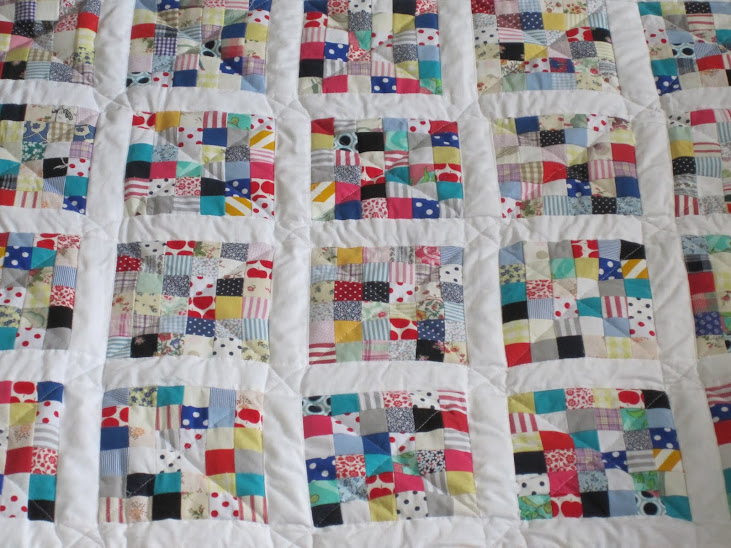

As you can see in the photos I added strips of white in between the patchwork blocks, and a wider boarder of white all around it. I also made the binding using up all of my strips of yellow scrap fabric sewn together into enough binding to go round the whole quilt. I will post finished pictures of the quilt with the binding in my next post (I just need to photograph the finished quilt). The quilt is backed with an old white tablecloth I bought at a charity shop for 50p (I knew it would come in handy one day!). The quilt is not perfect, and my machine quilting is not very good yet, but I still love the finished quilt, it is the perfect size for Mr. B and I to snuggle up under on the sofa in the colder evenings, and it has massively reduced my stash of very scrappy small scrap fabric, yay!


WOW… I have always thought about making a postage stamp quilt.. but the work that it looks like it takes left me reluctant. I LOVE yours. And the technique with the interfacing? How clever is that! Question- are there any other benefits to using the interfacing? Does the quilt feel nice with it in like that? I think I want to try this! ~Laurie
Hi Laurie, I’m glad I have inspired you, I highly recommend using the interfacing as it makes it so much quicker and lines all the seams up perfectly. The quilt does feel nice too, I made sure I used the thinnest interfacing I could get my hands on, as I didn’t want to make the quilt all stiff, and after a few washes it should be nice and soft. Give it a try, it’s also a great way to use up your smallest scraps.
I love your idea and the finished product….. Amazing!
Excellent job! I love all the little squares. And thanks for the good tip about lining up those pesky squares.
Thank you!
Amazing! Really impressed with this, well done!
WOW !!! Loving that. Love everything you make actually. Keep meaning to have a go at some myself. Must make the time x
Thank you Emma!
Oh my word. The outcome is fabulous, but just thinking about all those teeny bits of fabric makes me twitchy! Whew! Good work!
Praticidade fantástica. Amei! Obrigada por compartilhar.
Maravilhoso! Realmente vamos juntando restinhos de tecido e ,às vezes , são tão pequenos que temos dificuldade de utilizá-los. Mas com esta técnica,,,, tudo fica fácil! Amei!!!!!!!!!!!!!
This quilt really has an eye-catching pop to it! It looks cool, yet old-fashioned as well. Nicely done!
increible! que buena idea!
genius! thanks for sharing
Brilliant! I have so many little pieces of fabric I’ve hung on to. This is a great tutorial on how to use them. Thanks!
Lovely quilt! I thoroughly enjoyed the tutorial. Great use for the stash of little pieces of fabric.
Great job, congrats! I think I will cut & save squares as I finish with what I’m using and make a full square once in a while (when time permits). It may take some time, but you have inspired me to do it. The white strips emphasizes your work too. Thanks again, Marie
This cozy quilt looks really nice! What product did you use for the iron-on? Is it Vilene/ Vliesline H250?
This is wonderful. You can buy online the interfacing/stabilizer – already marked for many designs. I’ve got Lone Star but haven’t done it yet.
Awesome idea thanks for posting
Love the idea of using marked interfacing to line squares up. Genius! Your quilt turned out great in my opinion. And I think a theme for your quilt would be “Remember what I made out of that”.
Ótima ideia, muito obrigada!
Wow what a really good idea thank you x From Fay Bury England x
Great, great post, dear Rose!
I quoted you in my blog today!
Thank you for sharing!
I would like to know your opinion about my post.
Hugs from Portugal
Nina
Brilliant!!
I just love this concept of using the little scraps and getting a block that looks great with the seams lining up. Time to bust out my “scrappies” tub. I have several grandchildren who would love their own quilt made by Nana. This will make fast work with them. Thank you for sharing this wonderful tip! 😀
Great quilt! What size are the grids on the interfacing and did you use the standard 1/4″ seam?
Hello, I’m searching for a simple way to put together a postage stamp quilt and came across your post. Your finished quilt is just lovely. I’m sure you’ve made dozens since this post. I’m only a newish quilter and notice that the seams are pressed open on this system. Is this so that they lay flatter because of the extra thickness from the interfacing. Thanks Lindy
Yes pressing them flat helps them all lay flatter.
I love this idea I wonder if it would work with hexagons? Have you had any trouble hand quilting through the interfacing?
I have to admit I have never tried hand quilting!
Really what a idea! The interface makes it easy to joint accordingly. Thanks to share this.
FYI, gridded interfacing is available. See Crooked Nickel Quilt Designs for additional info.
I just checked that out and found some more good info – thank you!
I can’t find crookednookquiltdesigns! Please help because I’d like to know about that interfacing
Just great! Thank you for sharing the technique. Hugs from Brazil.
Reblogged this on Isabella's Whimsy and commented:
I cannot believe what I just found through Pinterest! If you want to make a Postage Stamp Quilt or any patchwork, you need to see this!
What a smart idea to make a quilt of squares of different colors. Very very nice. Good done.
Reblogged this on My Lil piece of heaven and commented:
Awesome quilt gotta try it
love this idea, very nifty!!
Wow, what a great technique! It came out beautiful! I hope I can find time to try this – I’ve hoarded so many scraps over the years, this would be a great use for them. Thank you for posting this!
I am so excited to have found your post! Your quilt is so beautiful and the technique makes it look so simple! I have been hoarding scraps for years – finally something awesome I can make with them – thank you!
Thank you so much for sharing this technique it is brilliant. I cannot wait to try it.
Been looking for instructions like this . Thank you.
I think you explain this very clearly. I m a just starting to quilt, I followed you directions and had beautiful matching seam and corner points. Thank you for posting this technique. 😄👏😄👏😄
Just came across this, certainly filled me with enthusiasm to try it, I’m sure it would work with a 21/2 inch square too!
Beautiful results! The white really sets off the colorful little patches. Cool technique, too! The one sad thing for me is you don’t have a magic way to get all those little squares cut. Thanks for sharing your cool technique.
This. Is. Brilliant !!!!! I’m new to quilting, and despite buying a quarter inch sewing foot, I cannot get my small seams to line up. I also made the mistake of choosing a wall quilt for my first project (foolishly thinking smaller would be less daunting than a full sized quilt). Those seam lines drove me to drink! I was so excited reading about this that I wanted to rush out to Joann Fabrics that minute. Bless you, bless you, BLESS YOU !!! I can’t wait to finish my project now 🙂
I see how you made the seams up and down but did you do them across as well? Btw it is beautiful. Great job.
Thank you for posting this technique.
Great job… I love this idea.. !!!
How did it take you to cut all thos teeny weenie pieces.lovely quilt